Silhouette Cameo 4 Mat: Everything You Need To Know
A cutting mat is a vital accessory for the perfect cutting job. Every cutting machine has specified mats like Silhouette Cameo 4 mats that are specified for the Cameo 4. So, if you are new to crafting, you might want to learn about Silhouette Cameo 4 mat. You will get interesting things about a mat that you didn’t know.
Let me introduce the Silhouette Cameo 4. It is a DIY cutting machine to create numerous interesting projects using its creative features. It lets you cut various materials to make something meaningful with the purpose of selling. The Silhouette Cameo 4 is the latest SC model with many brand-new features. The point is that you need to purchase the accessories along with a machine. Hence, we only focus on the mats.
What Is A Silhouette Cameo 4 Mat?
A mat is a tool for properly measuring design and cutting it through the machine. The Silhouette Cameo 4 mat is an important accessory in the list of Silhouette, without which the cutting won’t be accurate. The Silhouette Cameo mat is available in two sizes-12 X 12-inch standard grip and a 12 X 12-inch light tack mat. The mat is transparent and comes with 1 grid printed on it.
The Silhouette Studio represents your cutting mat digitally in the program. When you keep the mat in the right direction, the sticky side is at the top, and the Silhouette logo is at the bottom right-hand corner. To check the adhesive on your mat, remove the blue cover sheet, then put your materials on the mat. Also, you get many options related to a digital mat.
Silhouette Studio has represented the cutting mat as the dark gray grid in the background. It has a one-inch grid similar to the physical mat. Also, the logo is present in the bottom right-hand corner. The materials are represented as a white box on top of a gray mat. You have the option to change the material’s size in the Design page setting’s window.
And the red border that outlines the material is a cut border. The Silhouette can be cut up to 12″ X 16.5″. The cut borders usually show the material size you are working on. Lastly, the light gray border on the material is a printing border. To print anything from Silhouette Studio, just turn the “Print Border” line and verify that everything you are going to print is inside the gray box. It has a print border of 8.5 X 11″.
How To Add Or Remove Grid Lines In Mat?
Although you can work without grid lines if you want to use them, press G on your keyboard when you are not in the text box. Then, the Silhouette will turn on/off the grid. Or go to the Grid settings window to enable or disable grid lines. However, turn the grid on with one-inch spacing if you want to see a real mat. Also, keep the one division on. In the Grid Settings Window, you can control how many, division, and size of spacing.
With this window, you can command the Silhouette Studio to see the grid or if you’re trying to align an item on it. You have access to change the grid color or turn on/off the ruler and crosshairs.

For more details, you can add divisions that will split the grids into multiple small sections. As you can see in the image, 4 divisions per space are added. However, still, the grid section looks dominant and bold.

How To Cut With A Silhouette Cutting Mat?
Here are the steps to load the cutting mat into your Silhouette machine:
- First, remove the protective covering sheet from your Silhouette mat.

- Then, apply your material to the mat and use grid lines on the mat to align the material along the edges of the sticky side of your mat.
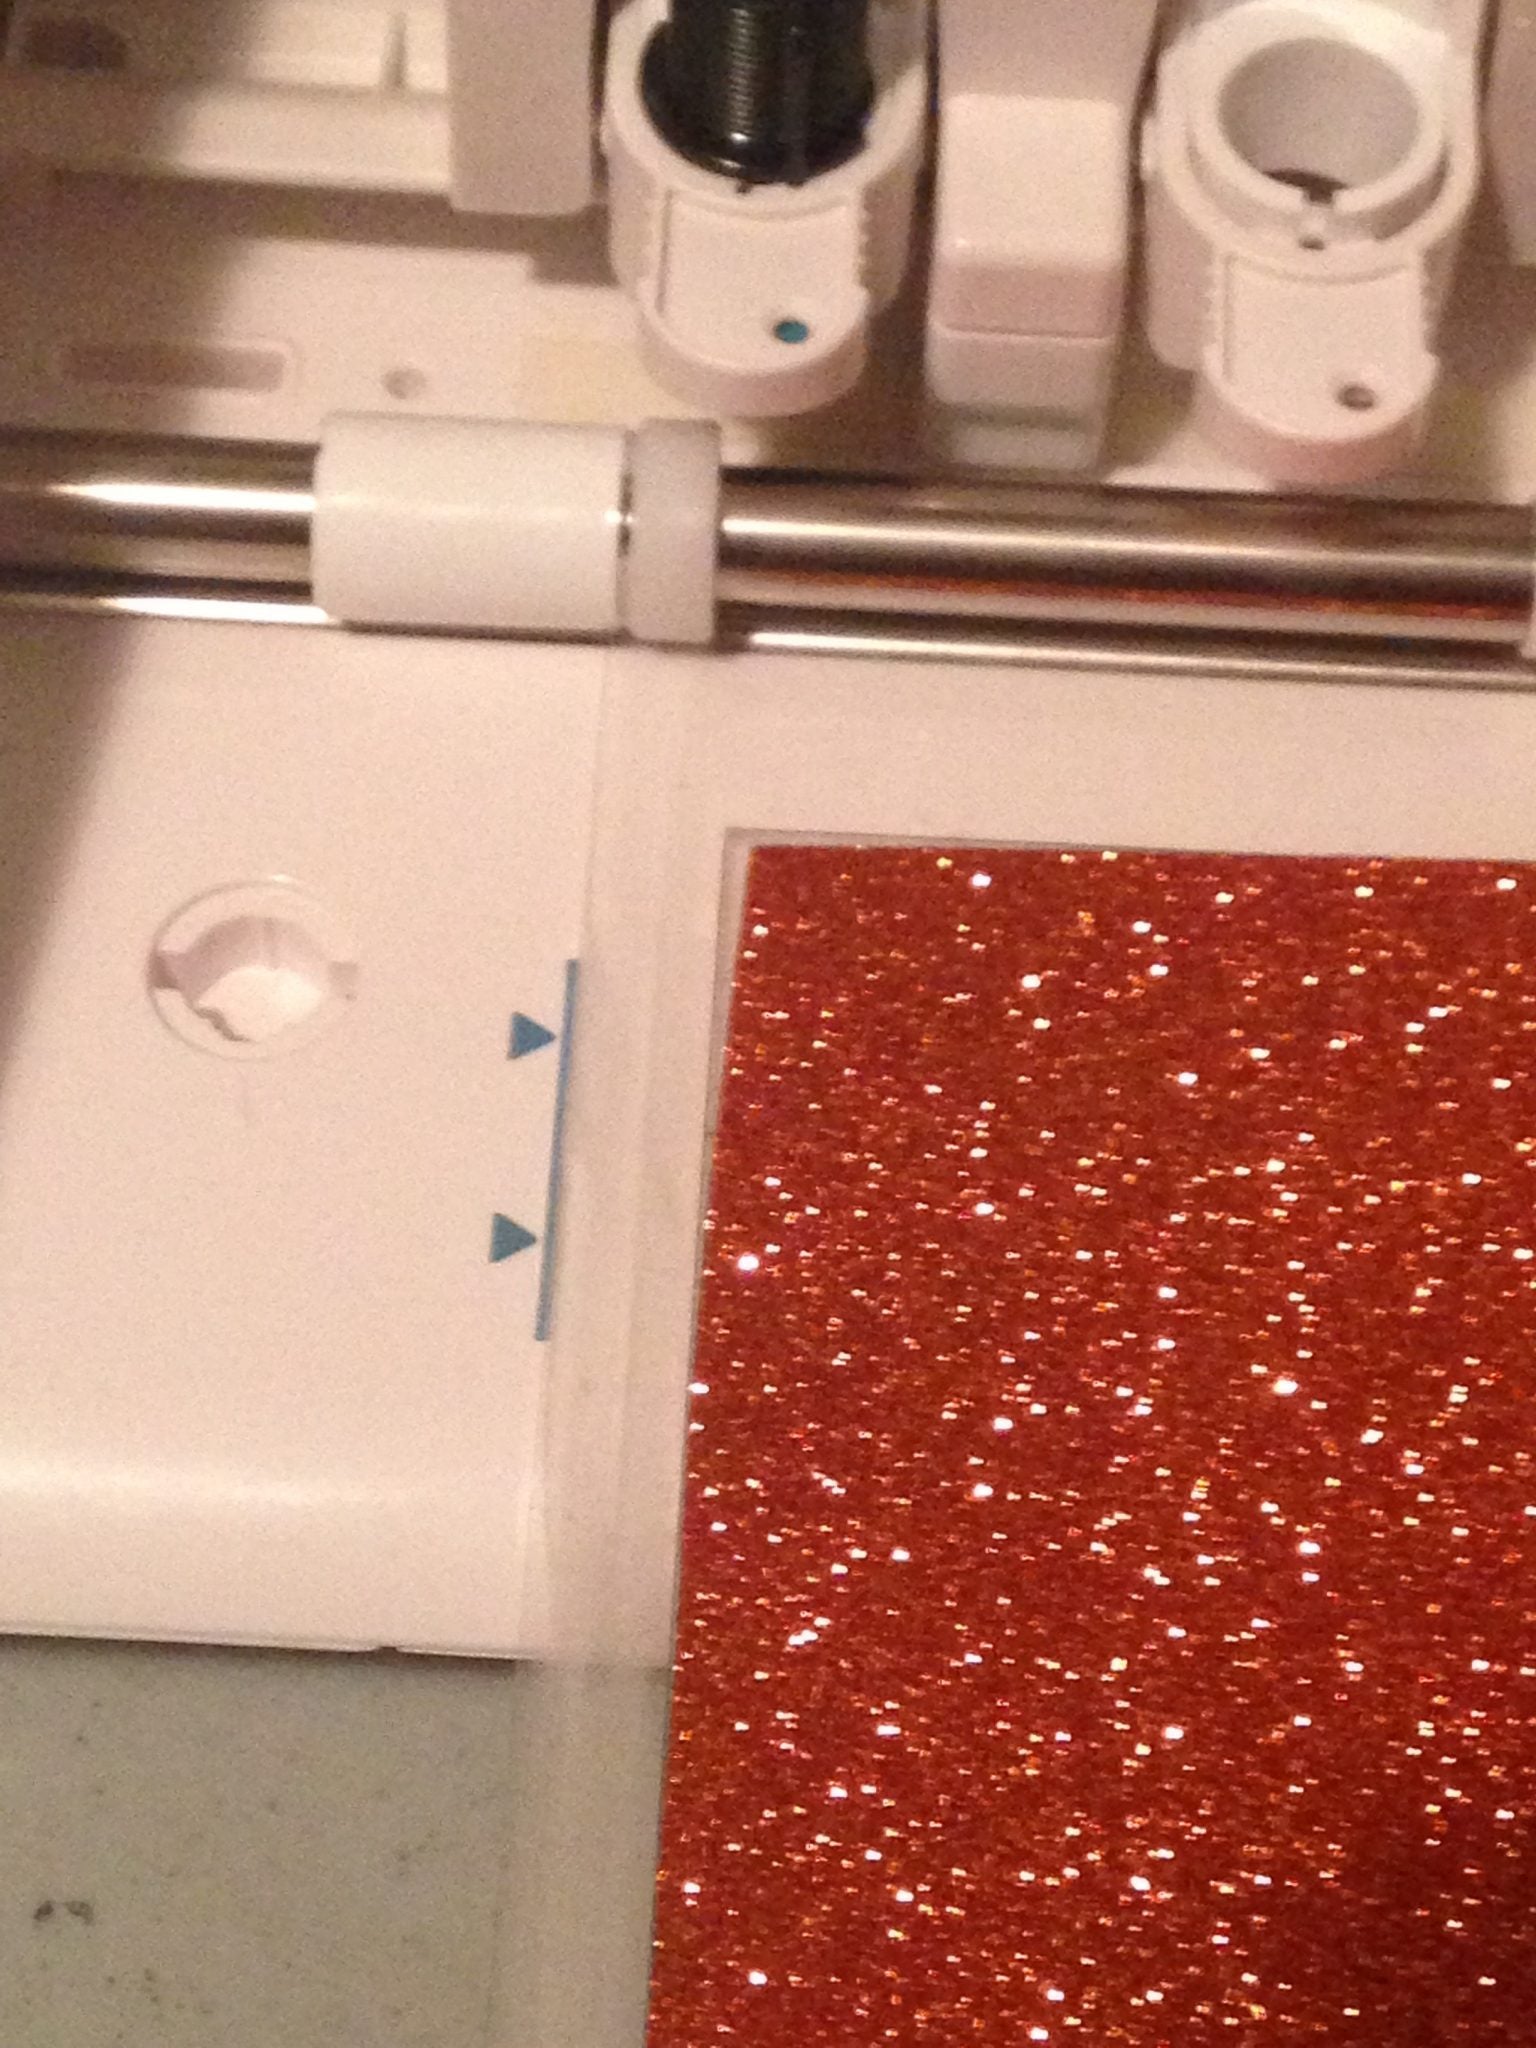
- Next, push your mat up to the rollers on your cutting machine using the blue line printed on the left-hand side.
- Now, press the load button, and your machine will automatically place the cutting machine.
- If it doesn’t load, the mat straight, unload it, and try again.
- During cutting, the roller bars should touch the edges of your mat or material.

- If your mat or material is smaller than 12″ wide, you may need to move the roller bars to hold the mat and materials correctly. Adjust the right roller by twisting until it unlocks.
- Then, slide it through the next stop and lock it into that place. The machine has stops or edges where you can align the rollers. Generally, four stops are given on the bar.


How To Prolong The Silhouette Mat Life?
When you use your mat too often, it may tear down and not work the same. Over time, you may need to fix your mat with tapes. However, it’s not a permanent solution. Therefore, you need to take a few precautions to extend the life of your Cameo 4 mat. Here are some of those:
- Alternate the direction you use to load the mat. Don’t use only the top or bottom to load it.
- Change the area you cut on your mat. Using the same area might fade away the stickiness of your mat.
- Clean your mat thoroughly. Especially after heavy cutting.
- Always use tape to hold the materials.
- If your mat is not sticky as before, use a temporary adhesive or glue to restick it.
Conclusion
Silhouette Cameo 4 mat is a must item to have while cutting. We have seen that the Cameo mat is digitally shown on the Silhouette Studio that represents grid lines, divisions, cut borders, and materials. You can adjust the grid lines or division via the Grid Settings Window. Also, the process of loading the mat into the machine is simple. However, you must be careful at every step to avoid a mistake.
One can easily extend their mat’s life by thoroughly cleaning them and using their alternate sides to load into the machine. Always use tapes to hold the materials in place. Also, change the area you cut materials from, as it may damage your mat.


Comments
Post a Comment