Learn How To Make Stencils With Cricut [Step By Step Guide]
I will share how to make stencils with Cricut in this blog. If you are a beginner and have no idea about it, use my blog to get started with your first stencil. I’ve been using Cricut for the last 3 years and learned many things to do on it. Cricut has made my life very creative, and I love making things on it. You can make reusable stencils or use a one-time stencil for your project. I like to make home decor stencils made from a Cricut machine. It feels good to make personalized things for you and your family and decorate it on the walls.
Let’s begin the tutorial.
What Kind Of Stencils Can You Make With The Cricut Machine?
You can use a stencil as a painting or staining on the walls or wood. There are a variety of options to make stencils. To make a stencil, you can use words, phrases, shapes, or patterns.
How Does Cricut Design Space Work?
The Cricut has its personalized software, which is the Cricut Design Space software. It’s basically a cloud-based software and can work from any computer or mobile device connected to the internet. This software is user-friendly and isn’t complicated. You can easily make your designs and stencils by following the simple steps.
How To Make Stencils With Cricut?
The process is so easy to create stencils with the Cricut. See what you will need to make a stencil with Cricut.
- Cricut design space software
- Cricut Explore Air 2
- A large Standard grip-cutting material
- Cricut stencil vinyl
- Cricut essential accessories
- Transfer tape
Create Your Text Or Design Space
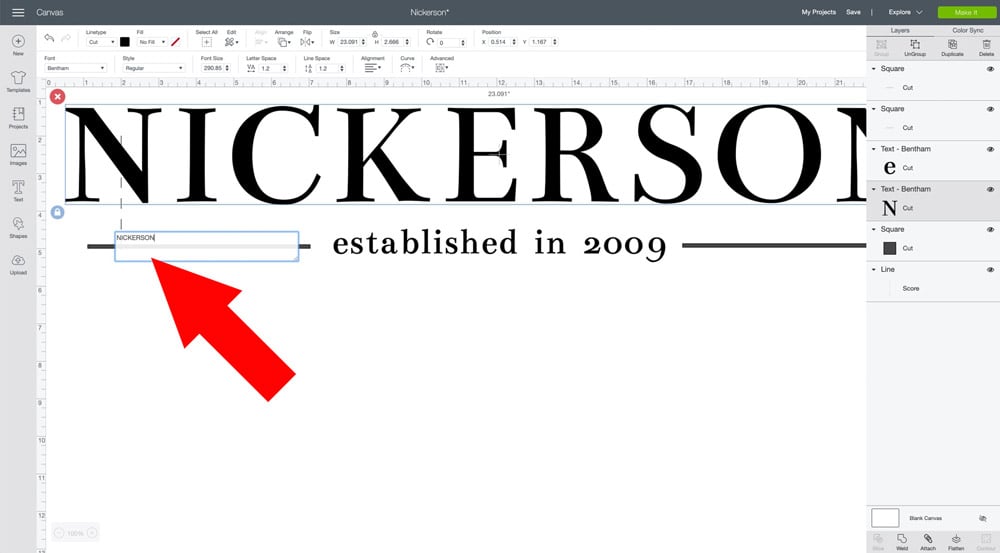
Open your Cricut Design Space and click the Text icon to create your text. In the Cricut Design Space, you’ll see all the available fonts in a drop-down window. Then, click on “System” to check all your system’s fonts.
When you are using the drop-down to form a text-based design and want to use a free tool to see the fonts your computer has, go to WordMark.It checks all the system fonts before moving to a design. You can check by writing your text.
Add Design
In this step; you can add an additional design, such as shapes, from the Desing Space. In this tutorial, I will use a rectangular shape. But you can use any shape you want, or you can add more than one shape to your design, such as a square, pentagon, triangle, diamond, hexagon, heart, etc.
Modify Your Design
It’s time to reframe your design. Start by measuring the area where you want to put your design. Then, go back to the Design Space and drag diagonally from one corner to other to select your full design. Also, use the anchor point at the bottom left to drag it to the size you need to create.
Then, to understand the exact size you are dragging, use the rulers to the top and left of the screen.
Group Your Design
Your text and shapes are separate in the design space, and you will want to move them together. To do this, you need to group the design together. For this, go to the settings and select “Group.”
Attach Your Design
Once you have grouped your design in the Design Space, use the attach button present on the bottom right. This feature will keep your design together while cutting. This step is important in the case of stencils.
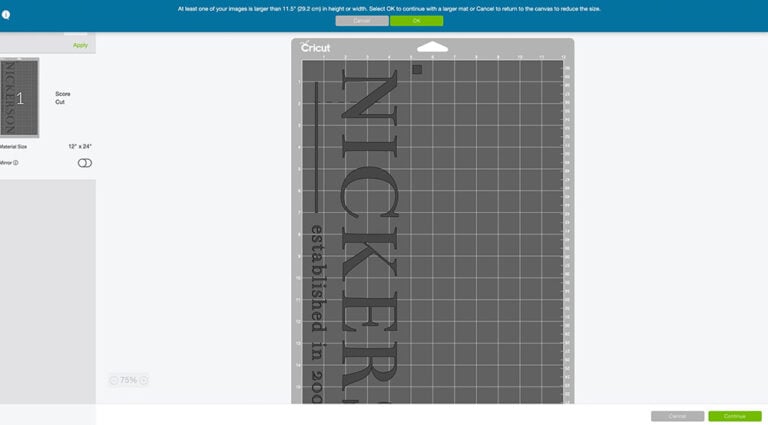
Go To The “Make It” Option
When you finish the initial part and are ready to make the stencil, click the “Make It” option. Then, choose the vinyl settings or the material you are making your stencil with. Next, place your vinyl on the Cricut Grip Cutting mat and cut it as per the settings.
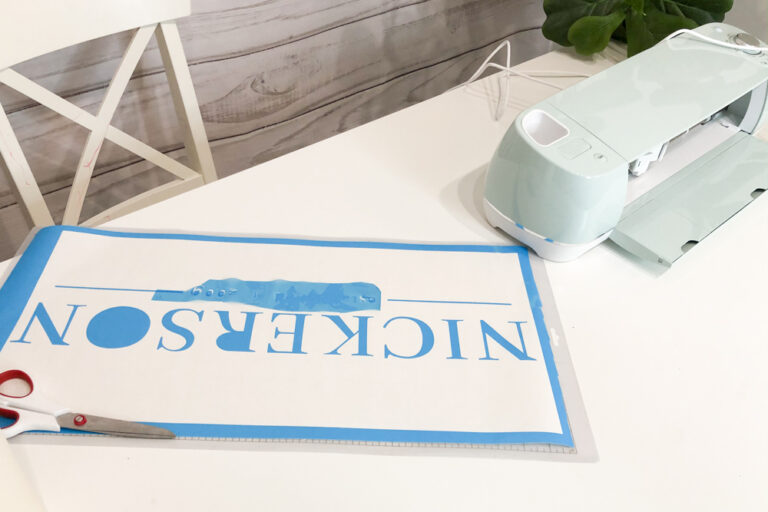
Weed Out The Letters
This step is to remove the unwanted parts on the stencil. I recommend using transfer tape to remove the remaining design. So, now I’m done with the weeding and adding transfer tape to the stencil so it will become a double layer. And then, I used the transfer tape to place the weeded stencil onto the wood I stained.
Paint Or Spray The Wood Surface And Attach The Stencil
Move ahead and paint the wood surface. You can use homemade based paints. I used chalk paint and painted on my stencil.
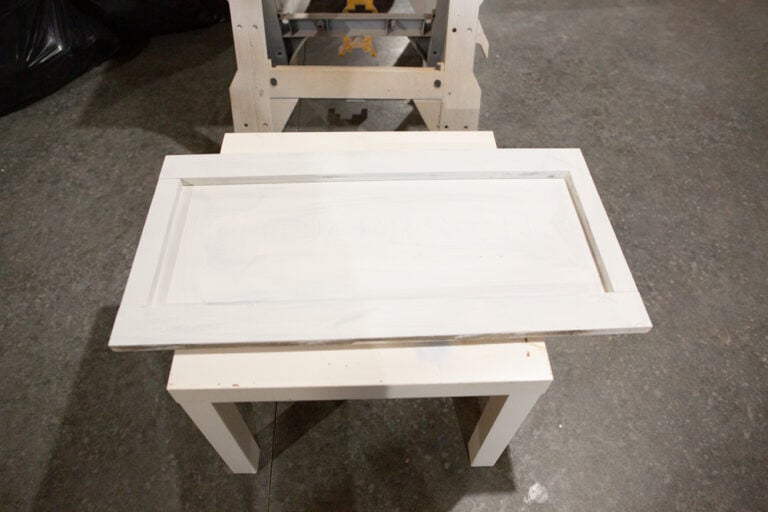
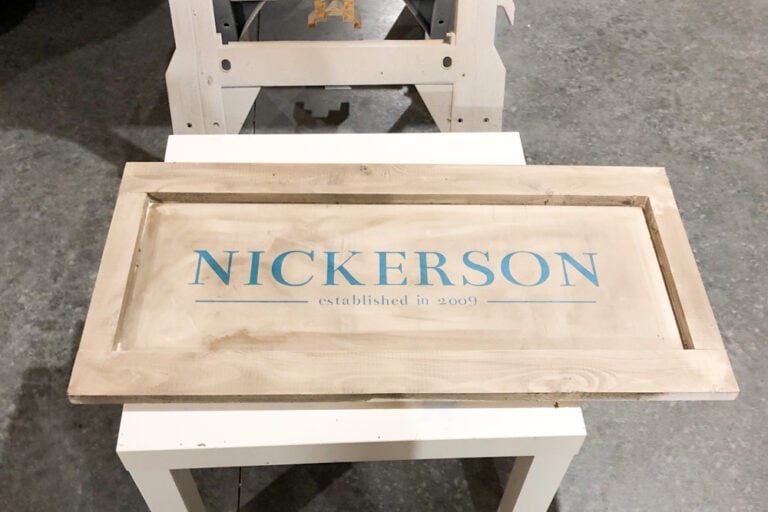
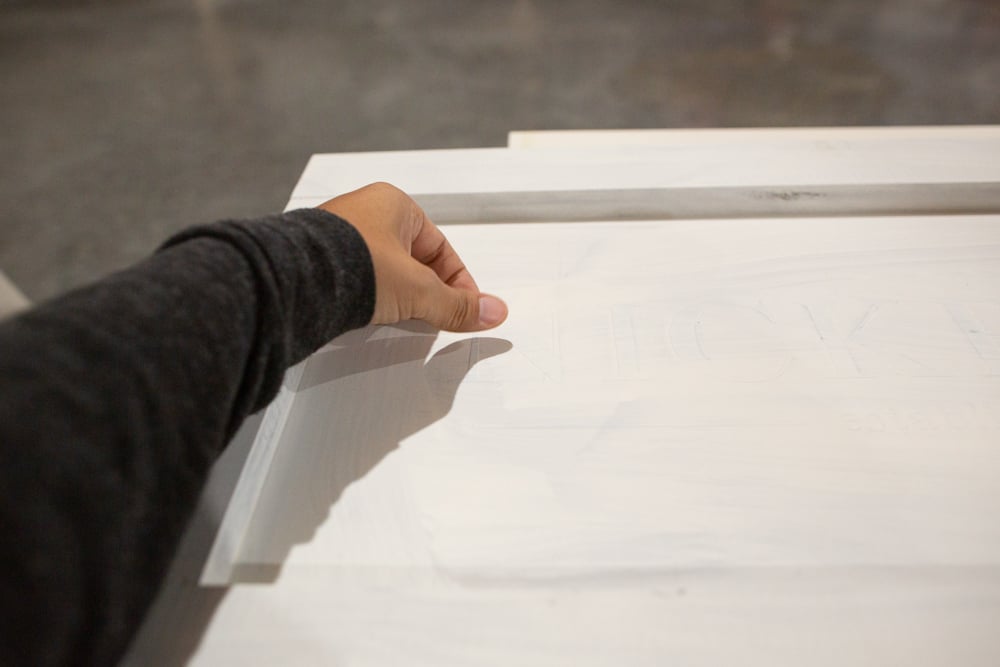
Remove The Painted Over Design
Once the stencil gets dry, take a weeder and remove the letters on the painted over wood. But be careful and don’t peel much of the color. Now, you have made your stencil for the first time.

Conclusion
I have tried my best to make you understand how to make stencils with Cricut. Use my wording to make a beautiful stencil. It is very important to carefully make your design and text in the Design Space and group them together to make a single design. The Cricut Design Space helps to cut the efficient material to avoid wasting it. Hence, the software is smart enough to get your project done. You can use homemade paints to paint your stencil. You can create another amazing stencil out of the Cricut cutting machine.


Comments
Post a Comment