How To Make Labels With Silhouette Cameo [Make Adhesive Labels]
You will learn how to make labels with Silhouette Cameo. I like adhesive printable papers for making labels as they are white and clear, which is a good option for making labels and tags. As Christmas is approaching, I’m making a Christmas label so you can also try it too. It would be all fun to create a label with Silhouette Cameo.
Are you familiar with the print & cut feature of Silhouette Cameo? Aren’t you? If not, let me tell you it’s so easy to use and provides you with texts and images to cut. In this blog, I will guide you to make a circle label. You can try it for other shapes, though. So, I can’t wait to start.
How To Make Labels With Silhouette Cameo?
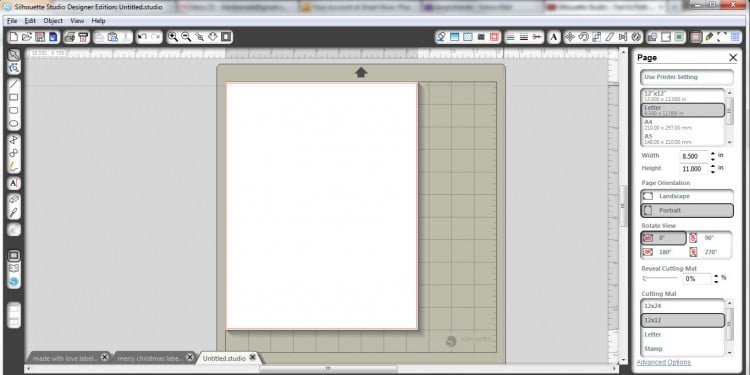
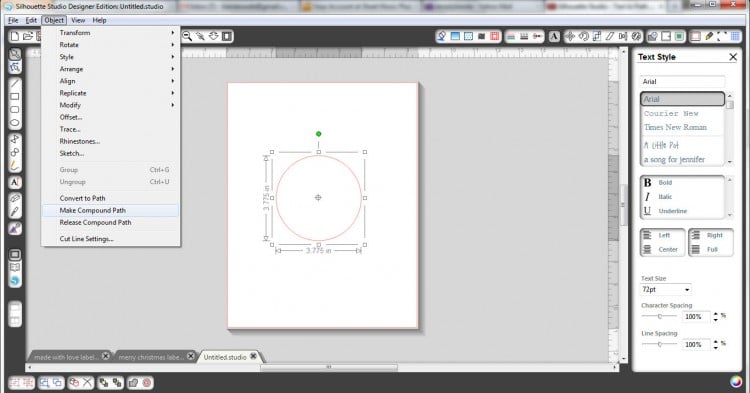
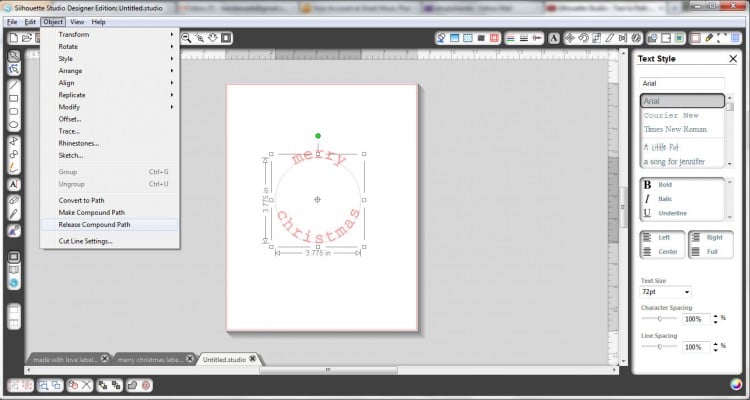
So, start by turning on your Silhouette machine and opening up the Silhouette software. Then, set it to 8.5 X 11. Take a cutting mat of any size; I’m taking a 12 X 12 mat. Then choose a shape; I’m choosing a circle. The size of your shape depends upon the text or image you want to create so that it fits into the shape. Then, click on the ‘Object’>’ Make Compound’ path to make your text round and adjustable around the circle.
You don’t have to follow the next steps if you don’t want rounded text. Also, if you want a unique shape like a square or rectangle, go to the shape tool and insert any shape.
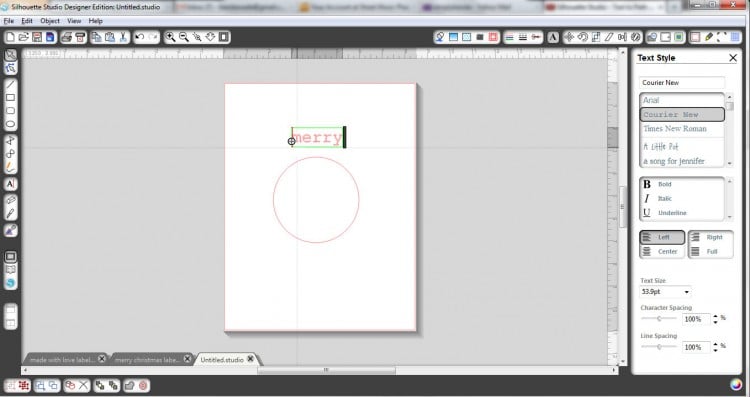
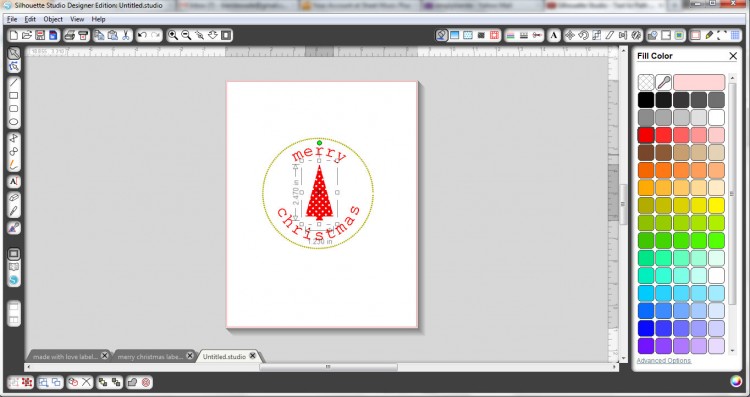
So, after selecting a circle shape, go to the text icon and enter what you want to write. Then, double-click on the text, and you’ll see a green box outlining it and a small round icon. You can move your text with the help of that small icon and take it down inside the circle.
If you want to undo it:
- Double-click the text box again.
- Do the same thing for another word. You can also change the character spacing if you don’t like the text alignment.
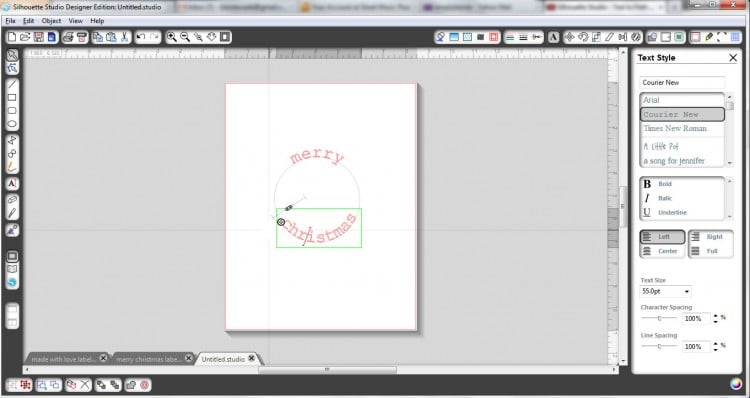
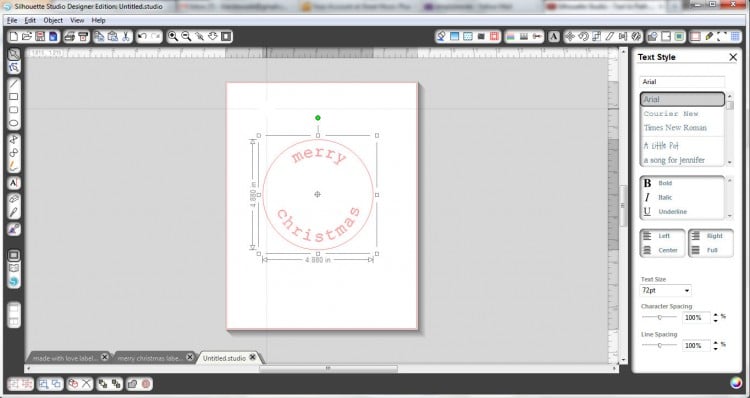
- When your text is fully rounded, go to the Object<Release Compound path.
- Click the circle and delete it; it’s not needed now.
Then, make another circle as you created before. You can make it larger if you want. As you can see, I use a big circle so that text leaves some space from the shape outline.
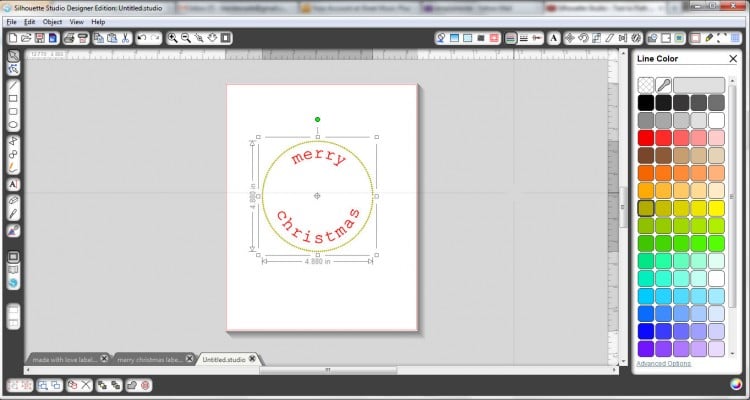
To create a dotted line, click on the line style icon at the top of the page and select the smallest dotted line. At first, it will be unnoticeable, but it will eventually get bigger later. But if you choose a large, dotted line, it will be invisible lately.
Moving forward, click the Line Color icon and pick the color you want on your dotted line.
You can also choose the color for your text. For this, use the fill color icon. To add something creative to the center of your label, use My Library to pick one.
I chose three trees in this picture but wanted to add only one, so I went to Object < Ungroup to delete the extra trees from my label. And then, I grouped the left tree. To group, select what you want to group and move to Object< group.
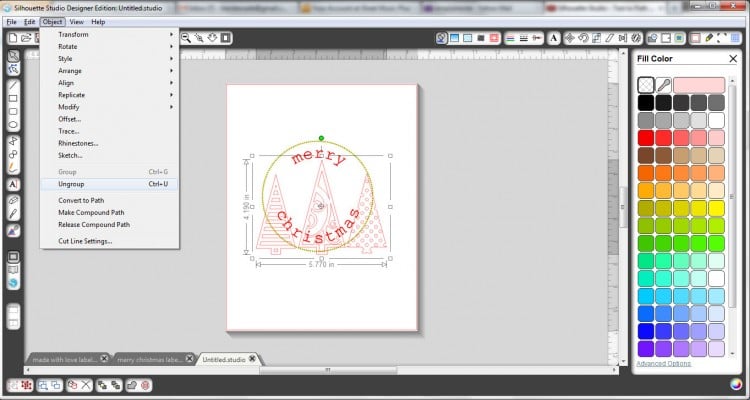
And then, I picked a red color to fill my Christmas tree.
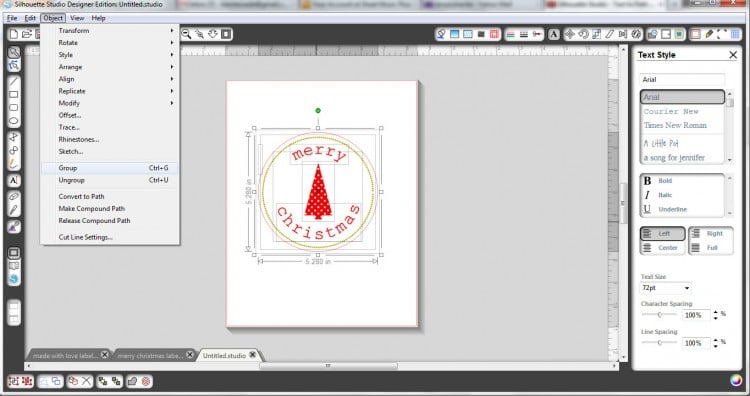
Now you will need another circle, which the Silhouette Cameo cuts. And then, any blank spaces between the dotted line and the new circle will rely on the amount of cardstock left while cutting. So, I liked the kraft paper on the edges and the dotted line as a buffer. This is how I adjusted my new circle.
Once your circle is fixed, you must group your whole creation together. To do this, select all the parts and click Object < Group. After grouping, you can move them anywhere.
Moving to the crucial step, click on the registration marks icon and ensure the small box prompts “Show Reg Marks” is selected. Then, fix the cut style to “Cut Edge.” This step will ensure that the circle is cut from the outside.
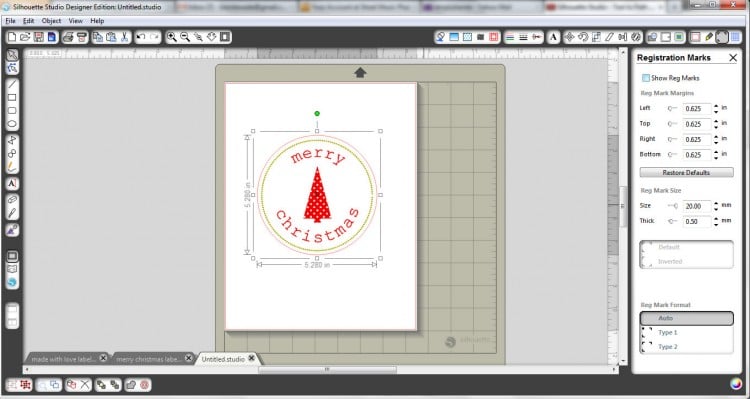
If you want, resize the image. Then, you can see the grid marks and keep your image in the grid box. Otherwise, it won’t cut or print correctly.
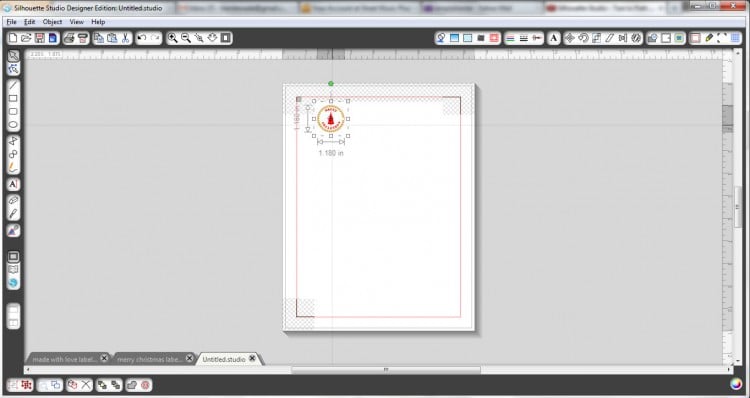
If you want the whole page with multiple similar labels, click on Object<Replicate< Full page. Then, the whole page will be filled with your created labels.
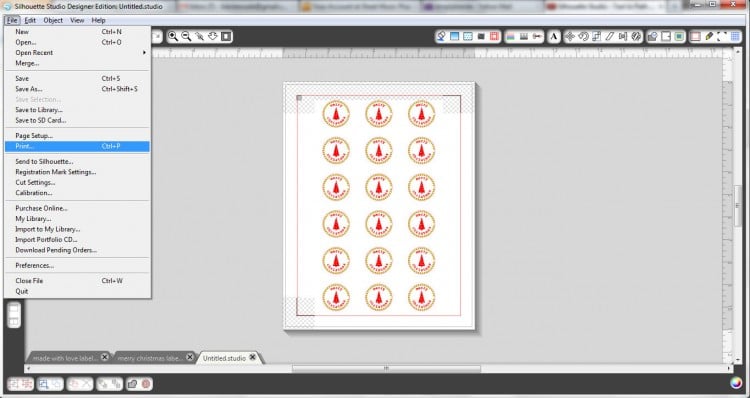
Finally, you’re going to print it. To print, click on File> Print. Check your adhesive printable papers are loaded in the printer tray.
After printing the labels successfully, get ready to cut. To cut, put your printed paper on the cutting mat and insert it into Silhouette Cameo. Then, Select File< Send to Silhouette and follow the on-screen instructions.
Then, select the type of paper you’re using and adjust your blades. Once you are done with everything, click on cut. Finally, you made it. Thanks for staying on my guide on my blog to make labels with Silhouette Cameo.


Comments
Post a Comment